
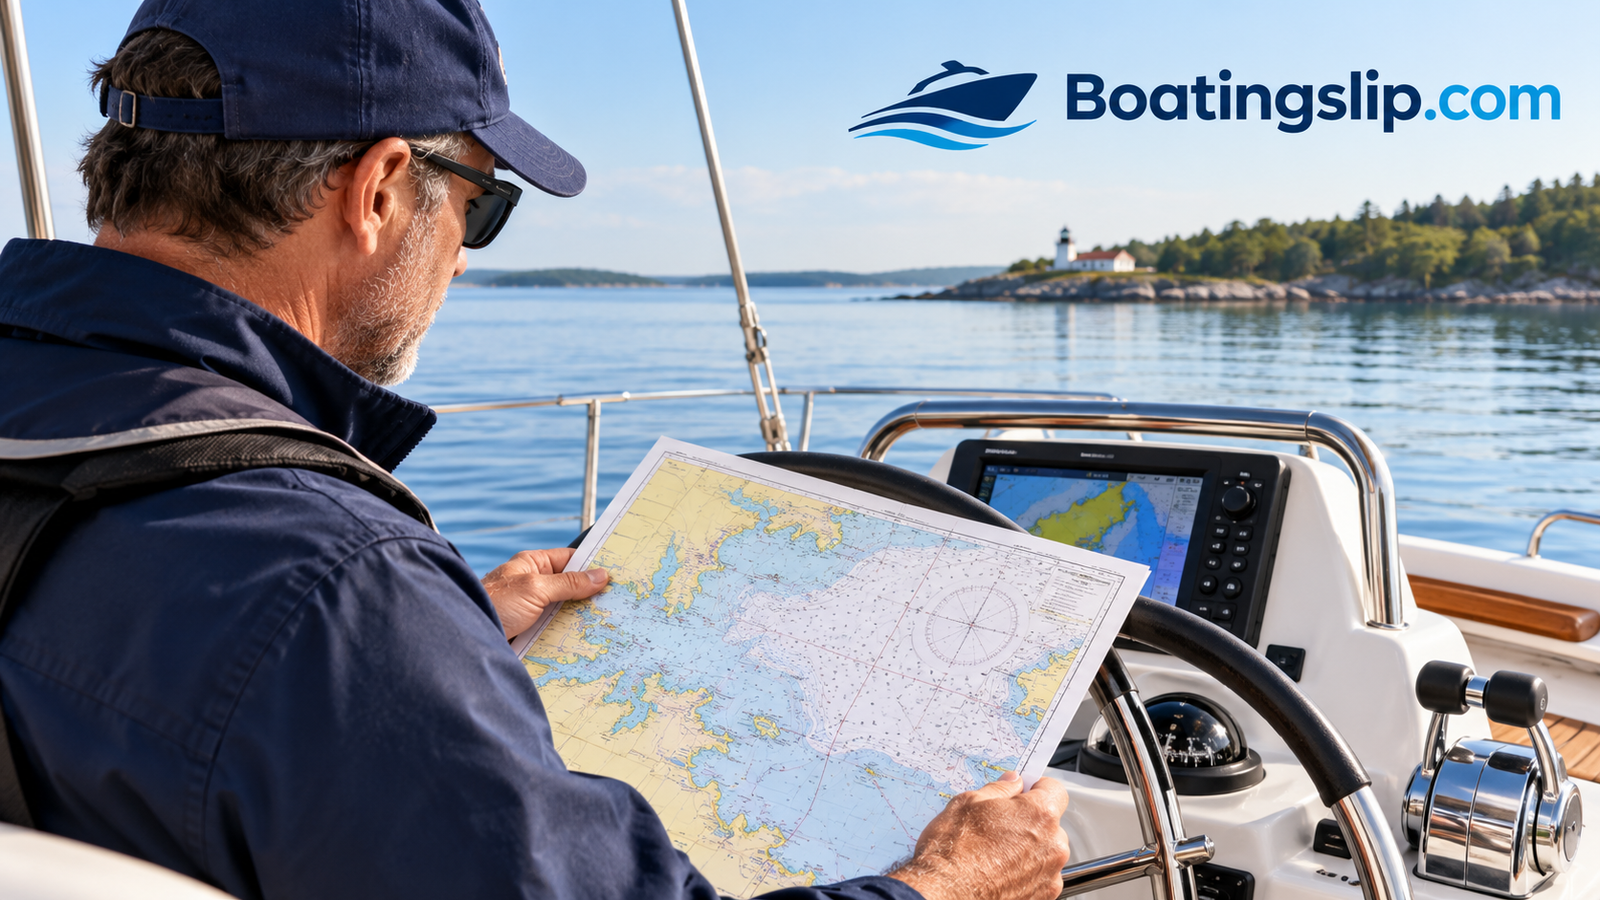
How to Read a Nautical Chart for Boating: A Complete Beginner-Friendly Guide
Every boater remembers the first time they unfolded a nautical chart and felt their eyes glaze over. Tiny numbers scattered across blue and white shapes, strange magenta symbols, dotted lines that seem to wander without purpose. It looks like a puzzle written in a language nobody taught you. The good news is that a chart is far more logical than it appears, and once you learn its grammar, it becomes the single most useful piece of safety equipment you can carry.
This guide walks you through exactly how to read a nautical chart for boating, one step at a time. We will start with what a chart actually represents, move through titles, scales, depths, symbols, and bearings, and finish with the real-world habits that separate confident skippers from nervous ones. Along the way you will find simple diagrams for every major step, so you can see each idea instead of just reading about it.
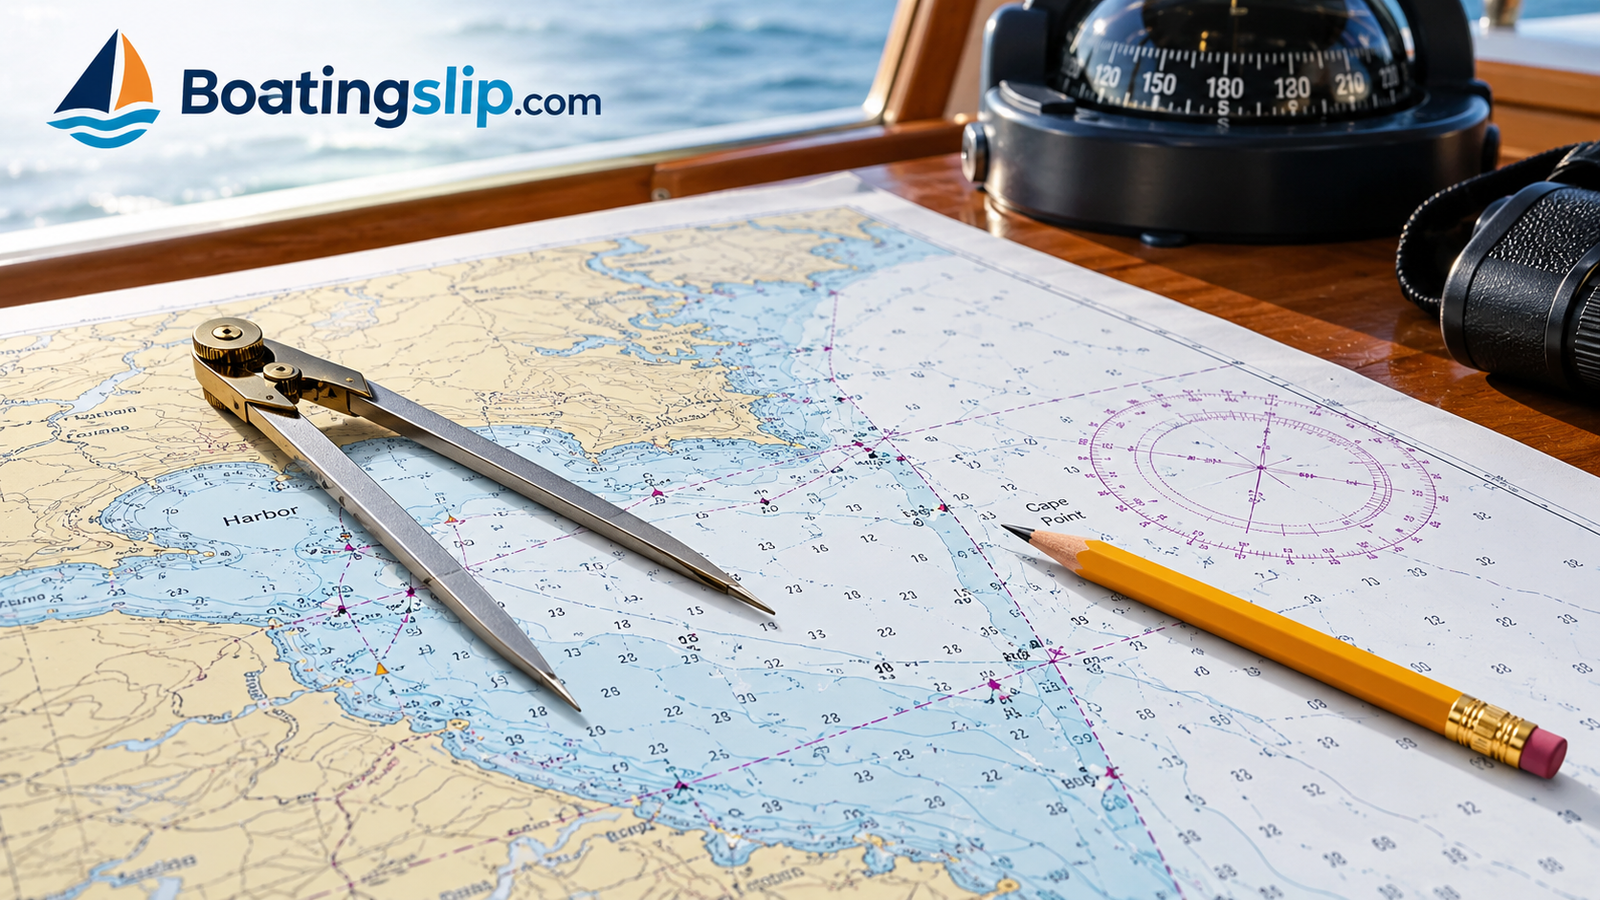
Before we dive in, remember one thing: charts are tools for decision-making, not just pictures. Every mark on one is there because someone, at some point, ran into trouble or measured something that matters to a vessel. Reading a chart well means learning to hear those warnings clearly. And if you are still working on the paperwork side of boating, our guide on how to get a boating license covers the education side that pairs naturally with these skills.
1. What a Nautical Chart Really Is
A nautical chart is a specialized map of a body of water and the land that touches it. Unlike a road map, which focuses on how to travel over land, a chart is built around what lies under and on top of the water: how deep it is, what the bottom is made of, where hazards hide, which landmarks you can see from the boat, and where official navigation markers stand guard.
Think of it as a conversation between the surveyors who measured the area and you, the person at the helm. The surveyors cannot be on your boat, so they leave you a detailed set of notes. Depth numbers tell you where there is room beneath your keel. Symbols tell you where a rock sits just under the surface. Lines and colors tell you where it is safe to go and where it is not.
Why Boaters Still Need Charts in the Age of GPS
It is tempting to assume a phone or chartplotter has made paper skills obsolete. In reality, electronics are built on the same chart data, and they fail in ordinary ways: batteries die, screens wash out in glare, signals drop, and software freezes. A skipper who understands the underlying chart can recover instantly from any of those. A skipper who only follows a blue dot can be stranded the moment the dot disappears.
Understanding charts also makes you faster and smarter with electronics. When you know why a depth contour curves a certain way or why a buoy sits where it does, you start predicting the water instead of reacting to it. If you like digital tools, our roundup of the best boating apps pairs well with the knowledge in this article.
Want a reliable reference on the boat? A compact navigation tool kit makes chart work much easier.
Check Price on Amazon2. Choosing the Right Type of Chart
Not all charts are the same, and picking the right format for your boating style is part of reading them well. The main options fall into a few families, and most experienced boaters use more than one.
| Chart Type | What It Is | Best For | Watch Out For |
|---|---|---|---|
| Paper charts | Printed charts produced by government agencies and private publishers | Backup navigation, learning, trip planning | Can go out of date, bulky to store |
| Raster charts | Digital scans of paper charts | Seeing the familiar paper layout on a screen | Image-based, so less flexible to zoom |
| Vector charts | Digital charts built from layered data objects | Chartplotters, tapping an object for details | Settings can hide information if misconfigured |
| Small-craft folios | Bound sets of charts for a region, often at handy sizes | Coastal cruising, small boats | Scale shifts between pages |
| Waterproof charts | Charts printed on durable, wet-resistant material | Open boats and kayaks | Smaller coverage areas |
Scale: Large Versus Small
Chart scale confuses many beginners because the words feel backward. A large-scale chart shows a small area in lots of detail, such as a harbor entrance. A small-scale chart shows a big area with less detail, such as an entire coastline. For close navigation around docks and channels, you want large-scale charts. For passage planning, small-scale charts give you the overview.
Keeping Charts Current
Waterways change. Channels shift, buoys move, and new hazards appear after storms. Always check the chart’s edition information and apply any published corrections. A beautiful but outdated chart can be more dangerous than no chart, because it feels trustworthy.
Protect charts and paperwork from spray and rain with a proper waterproof case.
Check Price on Amazon3. Step 1: Read the Title Block and Legend
Your first move with any chart is not to look at the water. It is to look at the margins. The title block, usually placed in a corner or along the border, holds the chart’s identity: the area covered, the scale, the units used for depth, and the reference datum. Skipping this is like starting a recipe without checking whether the measurements are in cups or grams.
What to Find in the Title Block
- Chart title and number: Confirms you have the right area and edition.
- Scale: Written as a ratio. It sets how much real-world distance each inch of chart represents.
- Depth units: Feet, fathoms, or meters. Mixing these up is a classic and dangerous mistake.
- Horizontal datum: The reference system for latitude and longitude. Your GPS must match it.
- Edition and correction notes: Tells you how current the information is.
The Legend: Chart No. 1
Symbols are standardized, but no one memorizes all of them. Official publishers issue a symbols-and-abbreviations guide, commonly known as Chart No. 1 in the United States. Keep a copy on board, or at least saved on your phone, and flip to it whenever a mark puzzles you. Over time you will need it less, but even veteran skippers consult it when they meet an unfamiliar symbol.
A good spiral-bound reference for symbols and navigation rules lives well in a boat bag.
Check Price on Amazon4. Step 2: Use Latitude, Longitude, and Scale
Every chart has a coordinate grid. Latitude lines run east to west and are measured along the vertical sides of the chart. Longitude lines run north to south and are measured along the top and bottom. Together they let you describe any position precisely, whether you are reporting your location on the radio or plotting it from a GPS.
The Nautical Mile Shortcut
Here is the trick that makes chart work easy: one minute of latitude equals one nautical mile. Because the latitude scale along the side of the chart is divided into degrees, minutes, and sometimes tenths of minutes, the side border doubles as a ruler. To measure distance, set your dividers across the two points, then carry that span to the latitude scale next to your area. Never use the longitude scale for distance, because longitude minutes shrink as you move away from the equator.
Plotting a Position
To plot coordinates, find the latitude on the side scale and draw a light pencil line across the chart with a parallel ruler or straightedge. Then find the longitude on the top or bottom scale and draw a second line downward. Where they cross is your position. Always draw lightly so you can erase later and keep the chart clean.
Dividers and a parallel ruler are small purchases that make chart work faster and neater.
Check Price on Amazon5. Step 3: Understand Depths and Soundings
Depth information is the beating heart of a chart. Those scattered numbers are called soundings, and each one reports the water depth at that exact spot, measured down to the chart’s reference level (more on that in the tides section). Your first job is to confirm which unit the chart uses. Once you know, scan for the numbers that matter to your boat’s draft, which is how deep your hull extends below the waterline.
Reading Contour Lines and Color
Depth contours connect points of equal depth, much like elevation lines on a hiking map. Many charts also use color to make shallow water jump out. Deep water is typically white, while shallower zones are shaded in blue tints. Treat the darkest shading as a caution flag and give it plenty of space unless you know the local conditions.
Add a Safety Margin
Never plan to run with only a hair of water under the hull. Waves, wake, tide variations, and uncharted changes can all reduce the real clearance. A sensible habit is to take your boat’s draft, add a generous buffer, and then treat any charted depth below that total as a no-go zone unless you are moving slowly and know the bottom.
Bottom Type Abbreviations
Letters near soundings can describe the seabed: for example, sand, mud, rock, or shell. This matters when anchoring, because holding power varies enormously. Mud and sand usually grip well, while rock or heavy weed can cause an anchor to drag. Reading these abbreviations turns the chart into an anchoring planner.
A dependable depth sounder or sturdy anchor setup pairs with good chart reading.
Check Price on Amazon6. Step 4: Decode Buoys and Aids to Navigation
Aids to navigation are the road signs of the water: buoys, beacons, daymarks, and lights that guide you through channels and warn you about hazards. On a chart they appear as small symbols with colors, numbers, and light characteristics. Learning them is one of the fastest ways to feel genuinely comfortable underway.
Red, Right, Returning
In United States waters, the simple memory aid is “red, right, returning.” When you head from open water toward the harbor (returning, or upstream), keep red markers on your right (starboard) side and green markers on your left (port) side. When heading out, the pattern flips. Red markers carry even numbers, and green markers carry odd numbers, which helps you confirm you are tracking the right sequence. Check the local rules for the region you boat in, since conventions differ in other parts of the world.
Common Marker Types
| Marker | What It Tells You | How It Looks on a Chart |
|---|---|---|
| Lateral buoys | Edges of a channel, red or green | Small colored symbol with a number |
| Safe water marks | Navigable water all around, often channel entry | Red-and-white vertical stripe symbol |
| Isolated danger marks | A hazard sits directly beneath or near | Black-and-red banded symbol |
| Special marks | Anchorages, restricted zones, cables, and more | Yellow symbol |
| Lighthouses and lights | Long-range landmarks and night guidance | Star or magenta flare with light details |
Lights are described by a pattern such as flashing, occulting, or fixed, along with color and period. At night, matching the pattern you see with the chart’s description is one of the most reassuring confirmations of position you can get.
A pair of quality marine binoculars helps you identify buoys and markers from a distance.
Check Price on Amazon7. Step 5: Master the Compass Rose
The compass rose is the direction tool printed right on the chart. Most roses have two rings: an outer ring showing true north (aligned with the chart’s grid) and an inner ring showing magnetic north (what your boat’s compass points toward). The difference between the two is called variation, and the rose states its amount, direction, and how it changes slowly each year.
True Versus Magnetic
This is where many beginners trip up. Courses you measure on the chart using the outer ring are true courses. Your steering compass, however, reads magnetic. So you must convert. The classic memory phrase is “True Virgins Make Dull Companions, Add Whiskey”: True, Variation, Magnetic, Deviation, Compass, with easterly corrections subtracted when going from true toward compass and westerly corrections added. If it feels confusing, a simpler workflow is to measure with the inner magnetic ring, which already includes variation, and then only worry about compass deviation on your specific boat.
A good handheld or helm compass is a smart backup for any boat with electronics.
Check Price on Amazon8. Step 6: Plot a Course and Bearing
Now you can put everything together and plot a real course. The classic method uses a parallel ruler or plotter: draw a straight line between your start and destination, then walk the ruler to the nearest compass rose and read the course where the edge crosses the rose. Distance comes from your dividers and the latitude scale. Divide distance by planned speed to get travel time.
A Simple Plotting Routine
- Mark your starting position with a small circle.
- Mark your destination, or the next safe waypoint, with a second circle.
- Check the straight line for shallows, rocks, restricted zones, and traffic lanes.
- If needed, break the route into several legs that bend around hazards.
- Measure each leg’s course on the compass rose and its distance with dividers.
- Write the course and distance neatly along each leg for quick reference.
Bearings to Landmarks
A bearing is the direction from your boat to a fixed object such as a lighthouse or a charted tower. Take a compass bearing, convert it carefully, and draw the line on the chart. Do this with two or three landmarks and the lines will intersect near your position, a technique called a fix. It is a powerful way to verify what an electronic display is telling you.
If weather turns while you are plotting, keep your head and your chart. Our advice on what to do if you are caught in severe weather while boating pairs perfectly with solid position awareness.
A clear plotter and a few good pencils make route planning a pleasure rather than a chore.
Check Price on Amazon9. Spotting Hazards Before They Spot You
Once you can read depths, markers, and bearings, train your eye to hunt for hazards. Charts mark rocks, wrecks, submerged pilings, cables, pipelines, restricted areas, and shifting sandbars. Each uses a recognizable symbol, and learning the most common ones will protect your hull and your day.
Hazard Symbols to Memorize
| Hazard | Typical Chart Clue | What To Do |
|---|---|---|
| Rocks awash or submerged | Small cross or asterisk-style marks, often dotted outline | Give a wide berth, especially near tide changes |
| Wrecks | Hull-shaped or masted symbol, sometimes with depth over it | Avoid unless you know the clearance |
| Obstructions and pilings | Dotted circles and “Obstn” or “Pile” labels | Stay in the marked channel |
| Cables and pipelines | Magenta wavy or dashed lines | Do not anchor within the marked corridor |
| Restricted areas | Magenta dashed boundary with notes | Read the note and obey posted rules |
| Shoals and bars | Closely spaced low soundings and dotted contours | Pass on the deeper side with margin |
Treat blank-looking areas with healthy suspicion too. An empty patch on a chart may simply mean the area was never surveyed in detail. If soundings are sparse, move slowly and keep a lookout. And if you boat with a four-legged crew member, a good fit matters, so see our guide to the best dog life jackets for boating before you enter tricky waters.
A bright, reliable spotlight helps you confirm hazards and markers after dark.
Check Price on Amazon10. Tides, Currents, and Chart Datum
Water depth is never fixed. Tides raise and lower the surface twice a day in many places, and the charted depth is measured from a reference level, called the chart datum, usually based on a low-water condition. That means the real depth at any given moment is typically the charted depth plus the current tide height, which is why most waters feel more generous than the chart suggests, until the tide drops.
Charted Height Versus Charted Depth
Underlined numbers on a chart often indicate drying heights, areas that are above the datum and may be exposed at low water. Add the tide height to understand whether they are covered when you pass. Heights of bridges and overhead cables are usually measured from a high-water reference, so always check your boat’s air draft against them.
Reading Current Information
Arrows with numbers can show typical current direction and strength. Strong current against wind builds steep, short waves, and strong current across a channel can push you sideways toward a hazard. Always add current into your plotting: a course that looks perfect on paper may need a correction to actually reach your waypoint.
Keep your gear and clothing comfortable and dry when conditions shift.
Check Price on Amazon11. Electronic Charts vs. Paper Charts
Modern boaters usually navigate with electronic charts, and that is a fine choice when you understand the data underneath. Both formats have real strengths, and the smartest approach is to treat them as partners.
Electronic charts: pros
- Show your live position
- Zoom and pan instantly
- Tap objects for details
- Easy to update and carry many areas
Electronic charts: cons
- Depend on power and signal
- Hidden layers can hide hazards
- Screens can be hard to read in glare
- Can encourage over-trust
Paper charts: pros
- No batteries needed
- Big-picture overview at a glance
- Great for learning and planning
- Reliable backup
Paper charts: cons
- No live position
- Need manual corrections
- Take space on small boats
- Vulnerable to water if unprotected
Settings That Matter on a Chartplotter
Check your display settings before you leave. Safety depth, safety contour, and shallow-water alarms should be set based on your boat’s draft. Make sure all object layers are visible, and zoom in far enough to see details; a zoomed-out view can hide small hazards. Compare what the screen shows with the paper chart or the real world, and confirm that your GPS datum setting matches the chart.
If you are deciding what to pack for longer days on the water, our guides to the best boating sunglasses and the Great Loop offer ideas for comfort and long-range planning.
A dependable marine GPS or chartplotter adds a second set of eyes at the helm.
Check Price on Amazon12. Habits, Mistakes, and Practice Plans
Reading a chart is a skill, and skills grow with deliberate practice. The best boaters are not those who memorize the most symbols; they are those who build steady habits that keep them oriented all the time.
Common Mistakes to Avoid
- Confusing depth units: Fathoms and feet are very different. Check the title block every time.
- Ignoring tide: A comfortable depth at high water can become a grounding at low water.
- Using the wrong scale: Measuring distance on the longitude scale gives wrong results.
- Mixing true and magnetic: Choose one system per plot and label it.
- Trusting old charts: Check edition dates and corrections.
- Following the blue dot blindly: Cross-check with depth, markers, and landmarks.
Habits That Build Confidence
- Study the chart at the dock before you cast off, and note hazards along your route.
- Name each marker aloud as you pass it and find it on the chart.
- Keep a pencil mark of your position at regular intervals on longer trips.
- Pick a landmark and take a bearing, then compare it with your electronics.
- Practice on a calm day in a familiar area so mistakes are cheap and educational.
A Simple Four-Week Practice Plan
- Week 1: Study the legend and title block. Identify ten symbols on a local chart.
- Week 2: Practice measuring distances and plotting positions at your kitchen table.
- Week 3: Plot a short route, then run it and compare your plan with reality.
- Week 4: Add tides, currents, and a bearing fix. Try running a leg without the plotter.
Also consider the legal side of boating as you build skills. Requirements vary a lot by state and by vessel, so if you rent or operate a personal watercraft, our explainers on needing a license to rent a boat and on jet ski license rules can help.
Build a small navigation bag so your chart tools are ready whenever you are.
Check Price on AmazonFrequently Asked Questions
What is the easiest way to start reading a nautical chart?
Begin with the title block and legend, then look at depth units and scale. After that, practice finding depth soundings, buoys, and the compass rose on a chart of your home waters. Small, repeatable steps work better than trying to memorize everything at once.
What do the numbers on a nautical chart mean?
Most of the scattered numbers are soundings, which show water depth at that spot in the unit stated on the chart. Other numbers label buoys, light characteristics, heights, and bearings, so use the symbol and legend to tell them apart.
How do I measure distance on a nautical chart?
Set a pair of dividers across your two points, then move them to the latitude scale on the side of the chart near your area. One minute of latitude equals one nautical mile. Avoid using the longitude scale for distance.
What is the difference between true north and magnetic north on a chart?
True north points to the geographic pole and aligns with the chart grid. Magnetic north is where a compass points, and the angle between them is called variation. The compass rose shows both so you can convert accurately.
What does “red, right, returning” mean?
It is a memory aid for United States waters. When returning from open water toward the harbor, keep red markers on your starboard (right) side and green markers on your port (left) side.
Are paper charts still necessary if I have a chartplotter?
They are not legally required for every boater, but they are an excellent backup and learning tool. Electronics can fail, so a paper chart and the skill to use it add a valuable layer of safety.
How do I know if a chart is up to date?
Check the edition information and correction notes printed on the chart, and look for published updates for your area. Electronic charts should be updated through your provider on a regular basis.
What is chart datum and why does it matter?
Chart datum is the reference level from which depths are measured. Because tide raises or lowers actual depth, you add or subtract the tide height to the charted depth to estimate real clearance at a given time.
What is the difference between a large-scale and small-scale chart?
A large-scale chart covers a small area in detail, such as a harbor. A small-scale chart covers a large area with less detail, useful for planning longer passages.
How much water do I need under my boat?
That depends on your boat’s draft and conditions. Add a generous safety margin for waves, tide changes, and unknowns, and slow down in areas where depth is close to your limit.
Can I use a phone app instead of a nautical chart?
Apps can be useful, especially as a secondary tool, but they rely on battery and signal and may not be official sources. Use them alongside a reliable chart and your own judgment.
How long does it take to get good at chart reading?
Many boaters feel comfortable after a few weeks of steady practice and a handful of real trips. Confidence deepens over seasons, especially when you plot, compare, and review every outing.
Conclusion
Learning how to read a nautical chart for boating is one of the most rewarding upgrades you can make to your skills. Start with the title block, use the latitude scale for distance, respect depths and tides, learn the buoys, and let the compass rose guide your courses. Add a healthy suspicion of hazards and the habit of cross-checking your electronics, and the chart stops being a puzzle and becomes a trusted companion.
Take it slowly, practice often, and enjoy the process. The water rewards boaters who prepare, and a well-read chart is the best preparation there is. Gear up, study your local waters, and head out with confidence.
Ready to equip your boat for confident navigation? Browse popular chart and navigation tools.
Check Price on Amazon